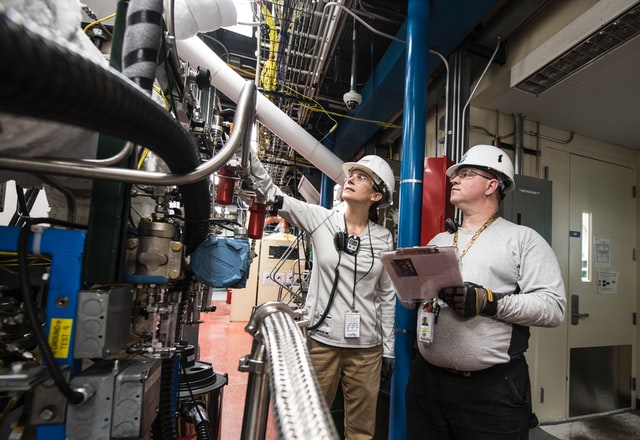
Visual inspection is called a visual inspection of parameters that affect quality, such as discontinuities, structural defects, and surface condition, with or without an optical aid.
Often it is an examination method that must be done before applying another non-destructive testing (NDT) method. In most of the application standards prepared for non-destructive testing methods, a visual inspection and findings are requested first.
The recorded results play a big role in the acceptance or rejection of the product during the evaluation phase. Nondestructive testing and visual inspection do not suffer any damage to materials and products.
The superior features of visual inspection over other non-destructive inspection methods are;
It can be applied to all metallic or non-metallic materials. In cases where the examination surfaces cannot be reached, endoscopes etc. can be used.
Before visual inspection, surface cleaning is not required as preparation of inspection surface. That is, the expected errors should be the best way to look. Checks should be made under adequate light conditions and at appropriate viewing angles.
General Standards
EN 13018 - Non-destructive testing - Visual inspection - General rules
ISO 3057 - Non-destructive testing - Surface inspection with metallographic replica technique
EN ISO 3058 - Non-destructive testing - Auxiliary materials for visual inspection - Selection of low-magnification magnifiers
EN 13927 - Non-destructive testing - Visual inspection - Equipment
EN 1330-10 - Non-destructive testing - Terminology - Part 10: Terms used in visual inspection